
Содержание статьи
Landscape photography seems simple, but the first attempts show that there is attention to detail, patience and understanding of light and space behind beautiful pictures..
Many amateurs start with photos of nature, because it does not rush, gives time to take a closer look at the horizon line, clouds and how the day changes from dawn to sunset.

This year, according to statistics, people are more likely to choose a national park or a quiet village instead of a metropolis. There you can find new views and feel how life around you slows down.
Rivers, lakes and forests of different regions seem familiar from postcards, but in the national park, each trail opens its character – from fog above the pond to a sharp wind at the foot of the mountain range.
This article will help you understand the basic rules that will come in handy for those who want not just to collect background images for their desktop wallpaper, but to create mood-leashing photos, and perhaps one day send their work to participate in a competition where wildlife shots from the most impressive corners of the world will be watched by photographers and artists from all over the world.
Landscape and portrait
The portrait and landscape in the photographs are much more closely related than it might seem at first glance. The figure of a person in a frame always lives in some space, and it is the surrounding scene that sets the mood, context and history.
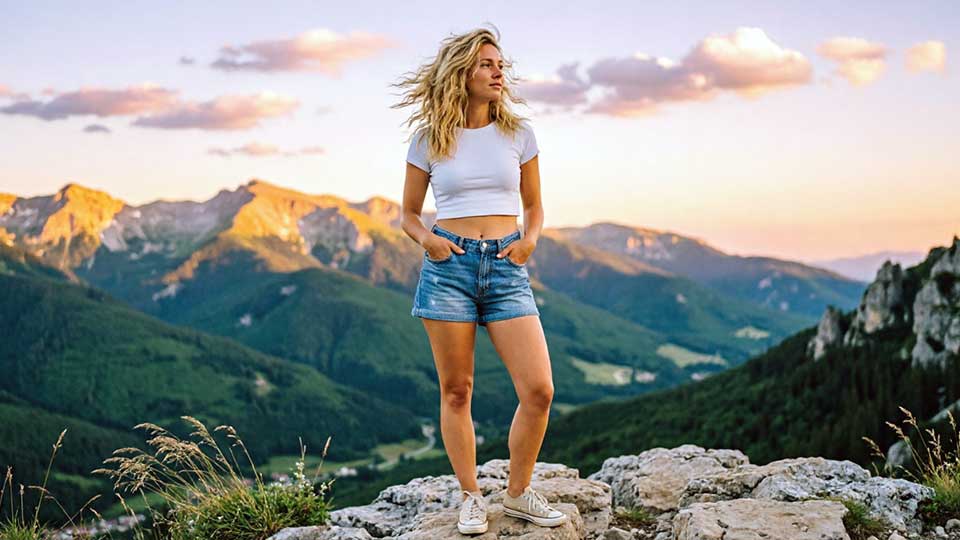
Sometimes the background works neatly, supporting the image, and sometimes it becomes a full-fledged character itself, only the accent changes. Therefore, it is useful for a photographer who shoots people to feel confident in landscape photography: to understand how lighting works, the horizon line, the rhythm of shapes and the depth of space.
Today we will take a step away from the usual portraits and talk about the landscape – about how nature can sound in the frame on its own and how this knowledge then helps to create stronger, emotional portraits.
Autumn landscapes of nature
Autumn gives the photographer a special state of light and a rich palette of colors that are difficult to find at other times of the year. The foliage changes from warm yellow to deep red shades, the air becomes more transparent, and the low sun gently emphasizes the terrain.
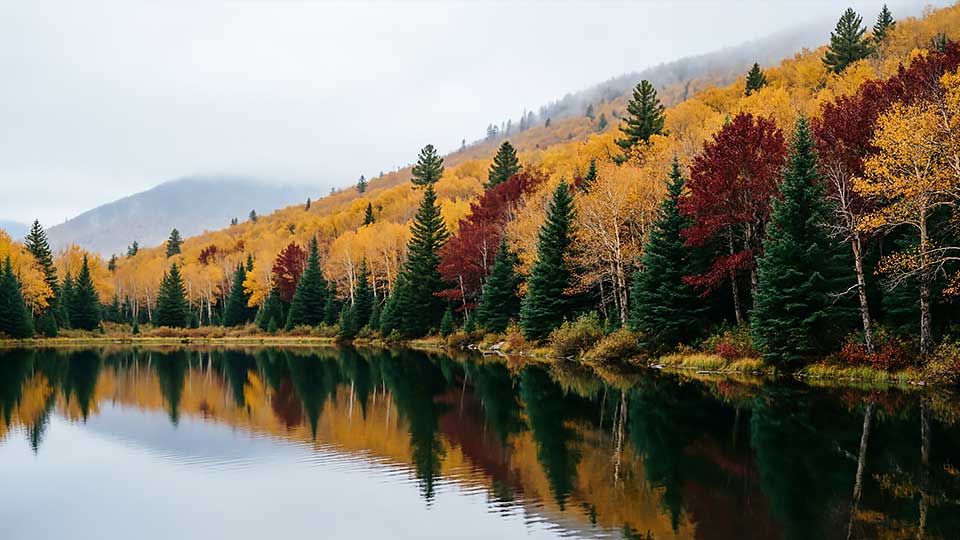
To make the stage look expressive, it is important to think in advance what elements will fall into the frame – a path in the forest, a lone tree on a hill, or a reflection of orange crowns in the calm water of the pond.
Light and time for a photo shoot
The best watch for autumn trips is early morning and late evening, when warm light makes the colors more saturated and helps to convey the soft mood of the weather. Dawn often brings light fog, which blurs the back-up and creates a feeling of depth, and the sunset emphasizes the silhouettes of trees and the horizon line.
On a cloudy day, you can also get expressive photos: clouds turn into a natural diffuser, and bright leaves do not “burn out” even with close-ups.
Composition and color
Look for simple, understandable shapes: a winding path going into the forest, a lonely birch at the edge or a group of trees with different colors of foliage. Use contrasts – yellow or red foliage against the background of dark earth, gray rocks or calm water helps the viewer to immediately see the main object.
Add the foreground to the frame: stones near the shore, fallen leaves, grass or an old wooden bridge to create a feeling of presence and depth. Make sure that there is no random debris and unnecessary details at the bottom of the frame that distract the look from the main plot.
Practical camera settings
| Situation | Recommendations |
|---|---|
| General plan of the forest or field | F/8–F/11 aperture for sufficient depth of field, low ISO and tripod if light is low. |
| autumn fog at dawn | Override the frame lightly so that the fog does not become too gray, and check the histogram, not just the camera screen. |
| Leaf details and close-ups | Open the aperture to f/4–f/5.6 to gently blur the background and highlight individual leaves or branches. |
Autumn trips are useful to plan in advance: mark interesting places on the map in the summer, and then return there when active foliage coloring begins and the light will become softer.
So you can react faster to weather changes, choose a good time of the year for different locations and collect a series of pictures that will logically complement each other in a personal gallery or in a future project.
Winter landscapes of nature
Winter dramatically changes familiar places: the forest, field or river bank are covered with snow, the lines become cleaner, and the viewer’s attention is attracted by the contrasts of light and shadow. The white surface works like a huge reflector, so any error with the exposure is immediately noticeable, and the sky on a clear day may seem too faded.

So that the pictures do not turn into gray and lifeless pictures, it is important to follow the color rendition, the texture of the snow and the direction of light in each frame.
Light, weather and atmosphere
The best conditions for winter trips are soft light in the morning and evening, when the sun is low and gives long shadows from trees, houses and snowdrifts. On a cloudy day, the scene turns out to be more even, but you can emphasize the mood due to the lines – paths, traces in the snow, silhouettes of trees or pillars of power transmission lines.
Foggy and snowy days deserve special attention: falling snow adds depth and feeling of presence, and light frost on the branches turns an ordinary park into a fabulous scenery.
Exposure and color of snow
- Do not trust automation completely: the exposure meter often tries to turn white snow into gray, so it is useful to add +0.3–1 exposure correction and control the result according to the histogram.
- When shooting in the shade or in cloudy weather, make sure that the frame does not look too “blue” – if necessary, slightly raise the color temperature in the camera or later when converting RAW.
- Try to maintain the texture: avoid overexposure on glare, especially when the sun is reflected from the ice crust or sleet.
Practical recommendations for technology
| Situation | Advice |
|---|---|
| General view of the snow-covered landscape | Use f/8–f/11 and low ISO to save detail, if necessary, place the camera on a tripod and use the timer descent. |
| Shooting in severe frost | Keep a spare battery in the inner jacket pocket, and do not turn on the camera immediately in a warm room after the street to avoid condensation on the lenses. |
| Details of frost and snow patterns | Shoot from a short distance, opening up to f/4–f/5.6 to gently separate the object from the background and show the crystal structure. |
Winter trips require the preparation of not only equipment, but also the photographer himself: warm gloves, waterproof shoes and a well-thought-out route will help you focus on finding interesting angles, and not on the fight against the cold.
If you choose places in advance and imagine what the scene will look like at different hours, it is easier to catch a short period of beautiful light and bring home a series of high-quality photos, and not random shots after a hasty walk.
Summer landscapes of nature
In the summer, many begin to shoot more actively: long daylight hours, warm weather and the accessibility of remote places simplify the planning of trips. The fields, forests and seashore at this time of the year look as open as possible, but due to the hard midday light, the photographs often turn out flat and overexposed.
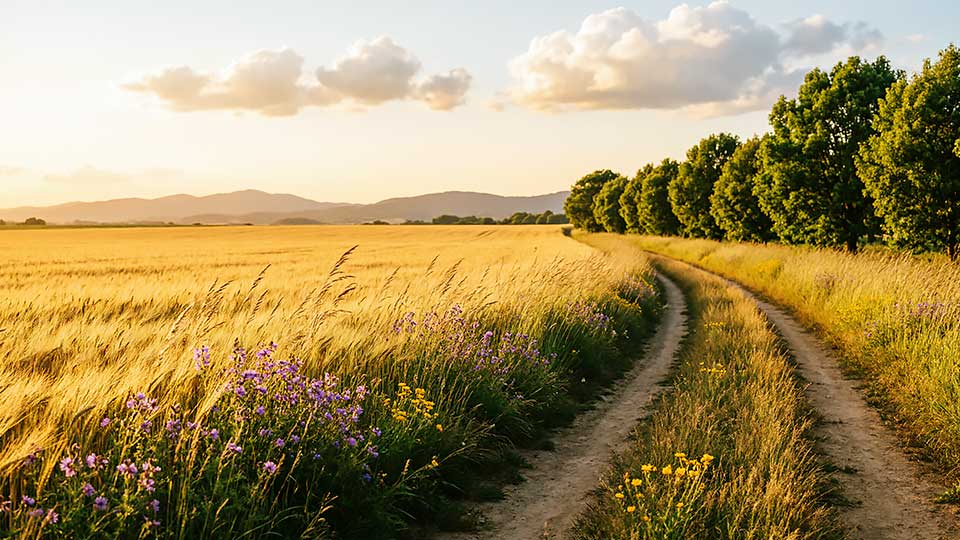
So that the photos do not resemble random pictures from the vacation, it is important to think over the plot, time and shooting point in advance, as well as to monitor the cleanliness of the horizon and the presence of expressive details in the foreground.
Best time and light
The most profitable watch for summer shooting is the early morning and the last two hours before sunset, when the sun is low and gives soft side lighting. At this time, the grass and crowns of trees are illuminated volumetricly, warm glare appears on the water, and the sky acquires a pleasant gradient from warm to cold..
At noon, it is better to look for a shadow: shoot in the forest, in the mountain gorges, near the rocks, or use the clouds as a natural diffuser to avoid hard shadows under the eyes of people and failures in texture.
Composition and work with space
- Look for lines that lead a look deep into Katrinka: paths, country roads, a line to the shore of the lake or a strip of plowed land on the field.
- Add foreground objects – stones, tall grass, flowers, an old fence or tree on the side to create a feeling of presence and volume.
- Do not forget about the sky: a few expressive clouds or a light summer haze background can make the scene much more interesting than a perfectly even blue background.
Practical settings and preparation
| Situation | Recommendations |
|---|---|
| Shooting a wide view of the field or coast | f/8–f/11, low ISO and, if necessary, a polarizing filter to reduce glare on the water and make the sky more saturated. |
| Hot clear day | Use the exposure bracketing mode or follow the histogram so as not to lose details in the lights, and if possible, go into the shadows or wait for the clouds. |
| Shooting details – flowers, grass, waves | Open up to f/4–f/5.6 to separate the object from the background, and try to shoot from the eye level or slightly below, not from top to bottom. |
Summer trips are convenient to combine with travel: you can mark the points by the sea, in the mountains or near the lake in advance and plan the route so as to be there at dawn or sunset.
A thoughtful schedule allows you to collect a whole series of photos from different locations and show how the mood of the landscape changes during one day or even one week of rest.
Spring landscapes of nature
Spring brings a feeling of renewal to familiar places: the first thawed patches appear on the fields, the forest is gradually filled with young foliage, and the sky becomes more transparent. At this time of the year, it is especially interesting to observe how the scene changes in just a few days – from the gray remains of snow to bright greenery and flowering trees.

For a photographer, this is an opportunity to show transitional states, when traces of winter are still visible, but a light haze is already felt above the ground.
In early spring, the sun is still low, so even during the day the lighting remains relatively soft and helps to emphasize the texture of the earth, ice and puddles. Frequent rains and fogs create interesting opportunities: wet asphalt or moist soil enhance reflections, while light haze in the forest adds depth and volume to the frame.
On sunny days, it is important to monitor the balance of white – greenery and blue sky can give an unnecessary cold shade, which is better to correct already during shooting or at the processing stage.
Plots and composition
- Look for contrasts between snow remnants and fresh grass, ice on the river and open water or dry branches and the first buds.
- The lines work well – a country road through a field, a path in the forest, a river bank or a row of trees that goes into the distance.
- Do not forget about the details: buds on branches, raindrops on last year’s foliage, reflections of clouds in puddles – all this helps to convey the mood of the season.
Practical shooting tips
| Situation | Recommendations |
|---|---|
| Early morning with fog | Arrive at the location in advance, use f/8–f/11 and watch the direction of the light so that the fog does not “eat off” the entire contrast of the scene. |
| Filming flowers and young foliage | Open up to f/4–f/5.6 to blur the background, and look for dark areas behind the object – so the flowers will look brighter. |
| Transitional landscapes with snow remnants | Watch the exposition fork so as not to lose details in light areas of snow and at the same time maintain the texture of dark earth or water. |
Spring trips are convenient to combine with walks along familiar routes: you know in advance where the shadow falls best, and you can watch how the same scene changes from week to week.
If you record these changes in a series of photos, you will get a visual story about the return of heat, which will be interesting to watch not only for you, but also for the viewers of your future photo projects.
Landscape shooting technique
Even the most beautiful view is easy to spoil with an unsuccessful angle or incorrect exposure, so it is important to understand the basic principles of working with the camera. Good technique helps not only to get sharp and detailed photos, but also to preserve natural colors, the texture of clouds, water and snow without unnecessary artifacts.
Below are the practical techniques that will suit both owners of mirror and mirrorless cameras, and for those who shoot on a modern smartphone.
Equipment selection and basic settings
- The tripod remains the main assistant in landscape shooting: it eliminates lubrication at long shutter speeds, allows you to accurately build a horizon and work calmly with the composition.
- For most scenes, wide-angle and standard zooms are suitable – not so much the focal length is important as the ability to “collect” a picture from lines and large forms.
- The optimal range of apertures for landscapes is f/8–f/11: so the depth of field is sufficient, and the sharpness of the frame remains high.
- Try to keep the ISO at a minimum level to keep the maximum dynamic range and avoid noise in the shadows.
Composition and work with depth
The composition in the landscape is built around lines, spots and balance between the earth and the sky. A simple rule of thirds helps to quickly place the horizon, trees or mountain range so that the picture looks stable, and the viewer is clear what is the main thing here.
By adding the foreground to the landscape – stones, grass, snag or path – you enhance the feeling of depth and draw the viewer inside the stage.
| Task | Practical reception |
|---|---|
| Save sharpness from the foreground to the horizon | Focus on a point about a third of the distance to the horizon, use the f/8–f/11 aperture and control the magnification result on the screen. |
| Avoid overexposure in the sky | Shoot in RAW, if necessary, slightly underexhibit and then pull out the shadows, or use a gradient filter or exposure bracketing. |
| Transmit the movement of water or clouds | Put the camera on a tripod, close the aperture to f/11–f/16, add a neutral filter if necessary and experiment with a shutter speed of a second to several seconds. |
Working with lighting and color
- Plan for dawn and sunset shooting: low sun gives soft warm lighting, emphasizing the relief and helps show the volume of mountains, hills and trees.
- Watch the direction of the rays – the side lighting makes the texture more expressive, and the backlight beautifully outlines the grass, leaves and wet surfaces.
- The polarizing filter helps to reduce glare on the water and foliage, make the sky deeper and emphasize the clouds, but do not abuse the effect so that the picture does not look unnatural.
Having mastered these techniques, it is easier to focus on the creative side of work – choosing places, searching for interesting stories and creating series, where each photo works for the general mood.
Over time, you will begin to quickly evaluate the correct lighting, predict how the scene will change in a few minutes, and return from trips not with dozens of random shots, but with thoughtful work that you can proudly show the audience.
See photosets from girls


